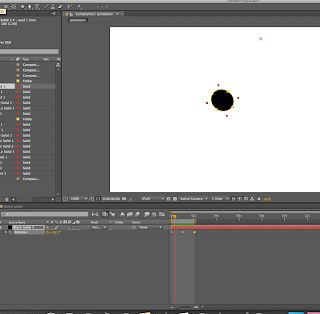
- Additional Key framing
- Grouping
- Audio
Press 'U' to show all the affects that have been made on the timeline
These squares move at a constant speed. Every keyframe animation we have looked at so far has had a constant speed. In reality, in the non animation world, things don't move at a constant speed.
Acceleration and Deceleration. We need to be able to work with these to make the movement more realistic.
We have 4 layers - we are going to apply different speeds to all of them.
You have to apply the effect to the keyframe - so select / highlight the first keyframe
The movement is refereed to as; easing in and easing out
Applied the 'ease out' effect
The dots are closer together to start with and then become more spaced out.
When you look at the sequence all together you will see that all the squares start and end at the same time but they just travel at different speeds.
You have to have the keyframe movement selected for something a line or movement to show up
The speed monitor is the Y axis
Press Y for changing the anchor point
We are working with Rotation
Simplifying a composition which has many layers
Establishing parent - child relationships
Select the layer which you want to be the PARENT - then all of the other layers will follow as they are the CHILDREN
A child layer can do its own thing but it will still always be bound to the parent layer
YOu can work with groups of layers by NESTING compositions - placing one composition inside another
At the moment all of our footage layers have just been footage layers e.g. photoshop / illustrator layers.
If you have your simple composition - instead of grouping the layers of the car together. It is easier to take all the layers and place them in a new composition and then place that back in a new composition (like what Lorraine was talking about last week)
LAYER - PRECOMPOSE (make sure that all the layers you want to put into a new composition are selected
AUDIO
Chose a sound then open it in Quicktimeplayer 7 - export it then save it
when you are exporting to the render queue you have your 3 render options.
In the output render option which is where you chose your video formats - H264
down the bottom there is A CHECK BOX FOR AUDIO OUTPUT and you have to make sure thaT you CHECK THIS - it isn't turned on by default - otherwise you will have an animation without sound.


No comments:
Post a Comment