
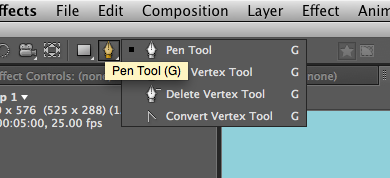
The same as illustrator - use the PEN TOOL and CONVERT ANCHOR POINT - you can move it from moving across a curved line to a straight line and vica-verca. You can click any of the points and drag it out to make a straight / smooth point.
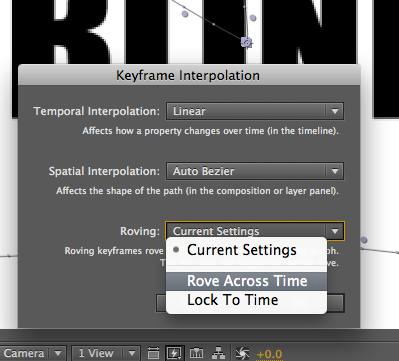
SPACIAL - changes to the space
TEMPORAL - changes to time


KEYFRAME INTERPOLATION - how it changed, converting curved lines to smooth lines
temporal interpolation will have a greater effect that spacial interpolation


The most significant way to change a keyframe is a to change it to a HOLD KEYFRAME which means you have no interpolation / no change between keyframes.
The first thing you notice is the dots between the keyframes going. The more dots you have along the keyframe the slower it is going. When you use this method - the dots disappear


As you now play it back you now no longer have any movement between the keyframes - the layer just jumps from keyframe to keyframe
You would use this if you wanted to represent the seconds on a clock or if you want something to blink ( like a cartoon)


TOGGLE HOLD KEYFRAME - quick shortcut when you right click on a keyframe instead of going all the way up to ANIMATION - KEYFRAME - HOLD.

SPEEDING UP
If you want to keep all the positions as they are but just want to speed them up then you just select all the keyframes then press ALT then drag either the start or end of keyframe
SMOOTH MOTION
If you want the motion between each keyframe to be equal
Try and space the keyframes equally
ROVE - across time equally
You can then press the alt button and then spread them out or condense them
These are only available with spacial properties, not temporal
we can also use illustrator to create MOTION PATHS
Create your vector shape then COPY this and then jump back to after effects
Select layer
then enable the keyframe
Edit - paste
The solid layer will then move along the motion path - this is a good way to get something to move in a perfect circle
You will also notice that the key frames are roving keyframes - equally spaced - smooth movement


Making the layer transform along the path properly

MASKS
In photoshop / illustrator / after effects - allows you to specify which part of the layer is transparent / opaque
It deals with transparency
Create new solid - the size of the composition
go to the shape tool


feather - the edges - softer or harder
opacity - slight differece to the previous option
expand - the area either inside / outside the mask
You can animate each one of these properties at different points in time.

Once you have a mask there are 2 ways you can work with it.
Either move the lines around the edge of the mask
Or double click the line of the mask and you have a box around it

You can also create a mask by using the pen tool and creating a vector shape

Click on the layer
draw a shape over it
select the mask PATH tool
create a start and end point
click back to the start keyframe - move the mask so that you cant see any of the word
then play


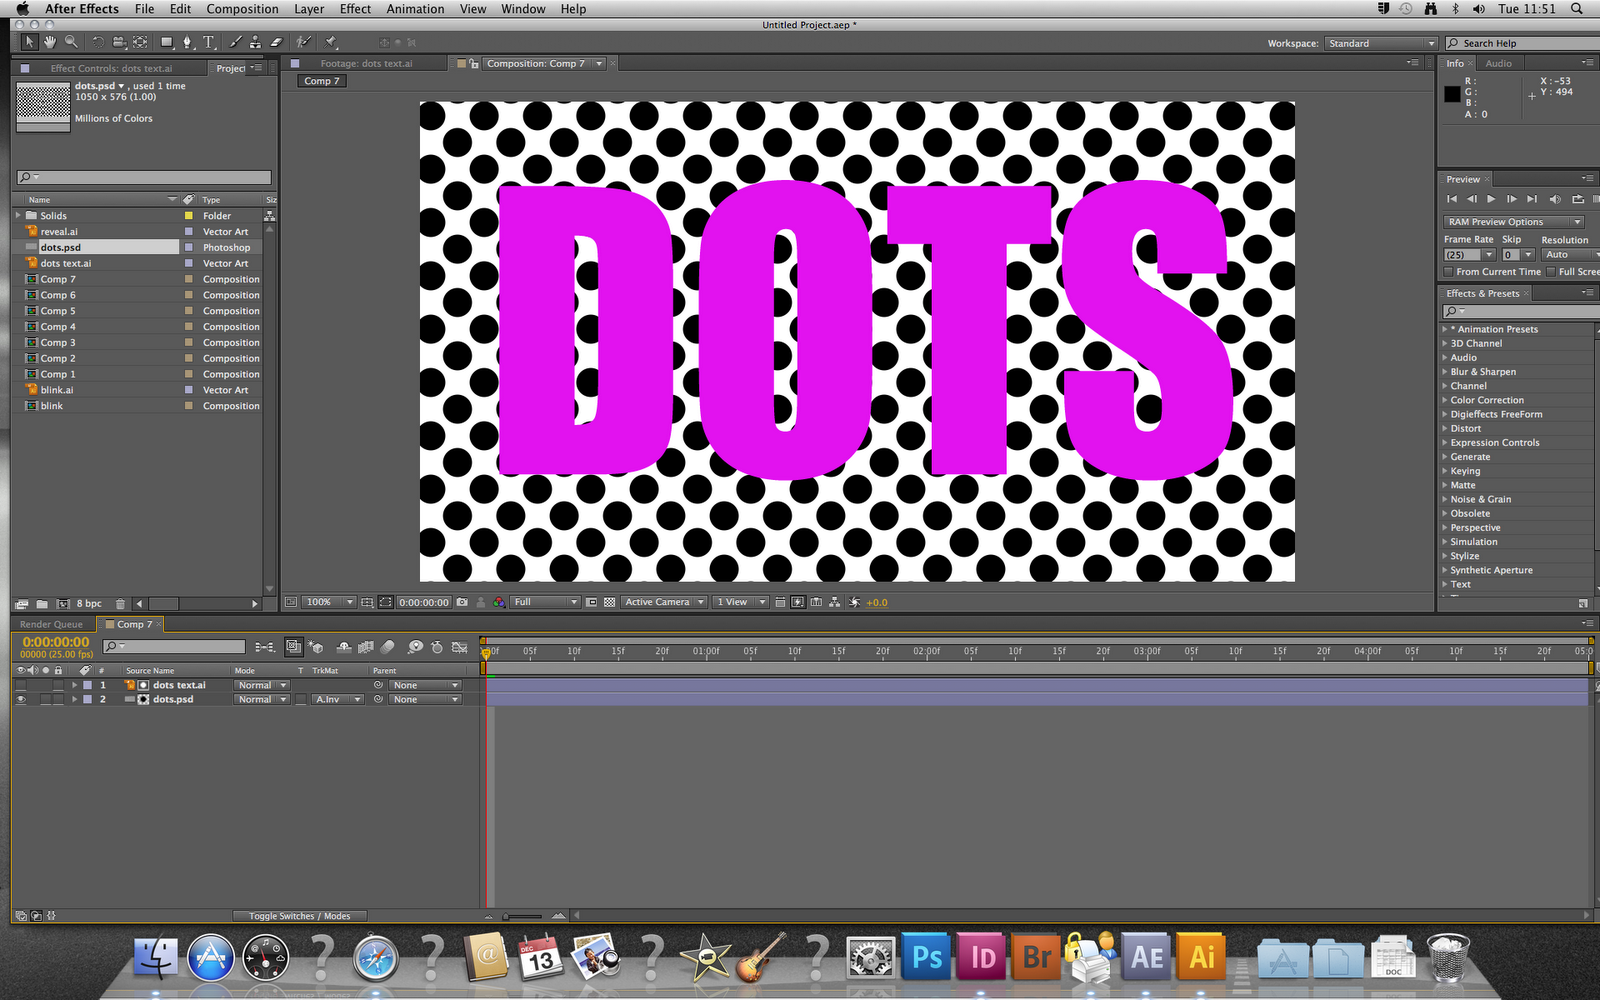
ILLUSTRATOR - TEXTS AS MASKS

COPY from Illustrator
New composition
create a solid that is the size of composition
PASTE in After effects

We can animate mask shapes
Select the 4 masks (4 letters)
M - short cut for mask path properties


No comments:
Post a Comment