


whole program

project sector

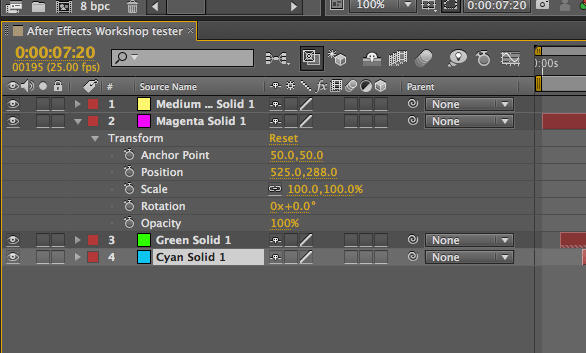
layers


main project

effects - many are the same a photoshop.


UK - runs at 25 (24 is the traditional frame rate of film)

USA - runs as 29.7


The 'duration' is default set to 30 seconds. The default colour is normally set to black but you can change it.
This is the opposite to print - RGB -


Yellow underlined number - you can change by dragging left / right


Solid red block will appear in timeline after the solid shape has been created.

you can zoom in by scrolling the mouse or my chaginging the placement of this yellow icon.
These control how you view the preview


HD - half, third, quatre - it doesnt process every frame, so it will lighten the load on the computer.


Keyframe - gives a certain bit of information

the stop watch icon

jump to the start of end of the keyframe
Position - click the keyframe icon then drag and move the text / shape from one place to another (click where you want the time to be before e.g. 0 - .4 seconds. A line will appear and the object will move over time.


SHORT CUTS
P - position
A - anchor point
S - scale
T - opacity
I - jumps to the start of the layer (click on the layer before hand)
O - jumps to the end of the layer
N - jumps in and out of the end point of an area
U - exposes all the animated properties
UU - all modified properties
CMD and D - creates a copy of a whole layer
Before you EXPORT the project - make sure you remove / compress the grey area of the time scale that you havent used so that you dont end up with a black time frame the end.


No comments:
Post a Comment